Starlink Mini for Travel review – by James Maitland

For those wondering about portable internet on the go, we’ve been using the Starlink Mini (about $780) while travelling we were going to purchase the original as it is much cheaper and can get faster speeds, but the mini does not need a separate router and does fine for us. It runs on low voltage (20-60V DC), making it versatile with different power options. The default 5525 barrel connector cable is 15m long and works well, but it’s not always easy to find compatible power sources.
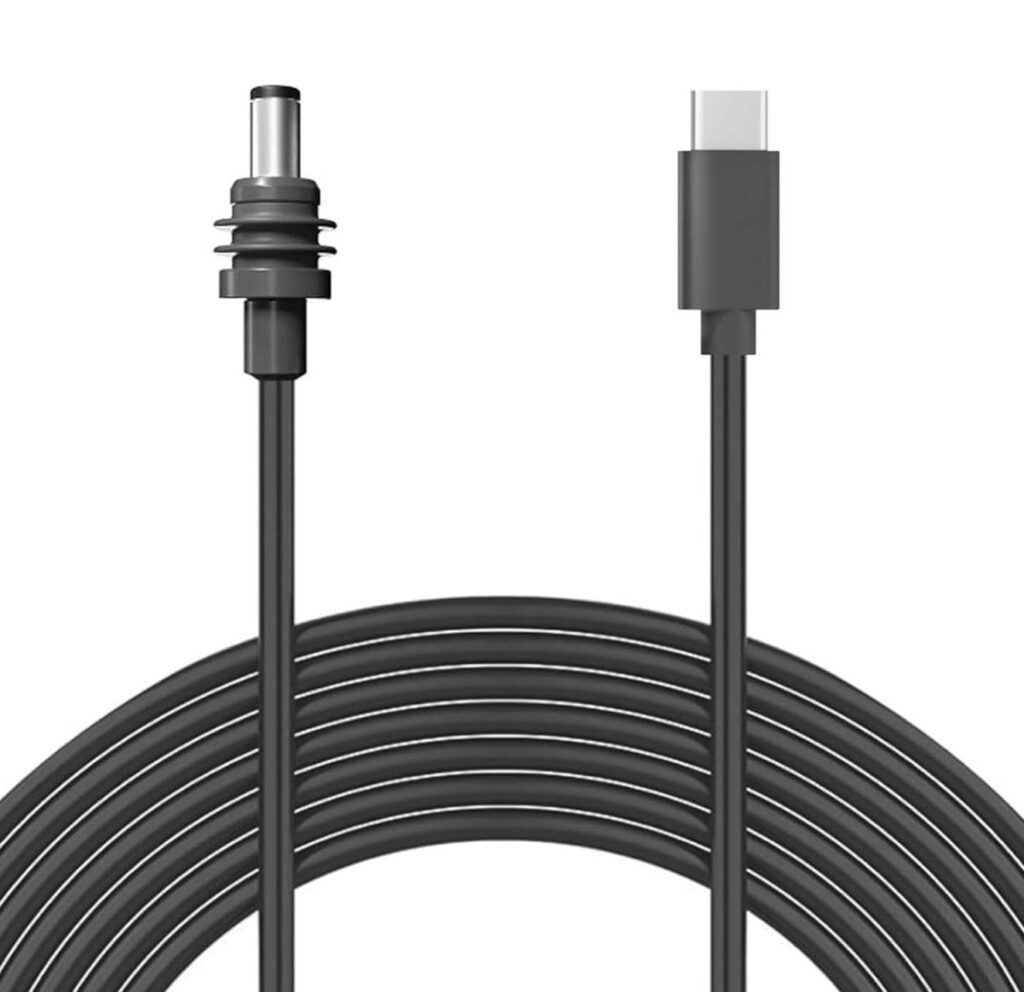
Luckily, we found a workaround with a third-party USB-C cable from Amazon (around $30), which runs off any USB-C Power Delivery (PD) socket. This has worked flawlessly to power our Starlink Mini from our car’s socket with a PD adaptor, which also we use to charge our MacBook or ipad with no need for any inverter. The Starlink only needs about 25W-50W, so the 100W-rated USB-C cable is more than enough. The trade-off is that the USB-C cord is only 3 meters, compared to the original 15 meters, but it’s perfect for use in the car.
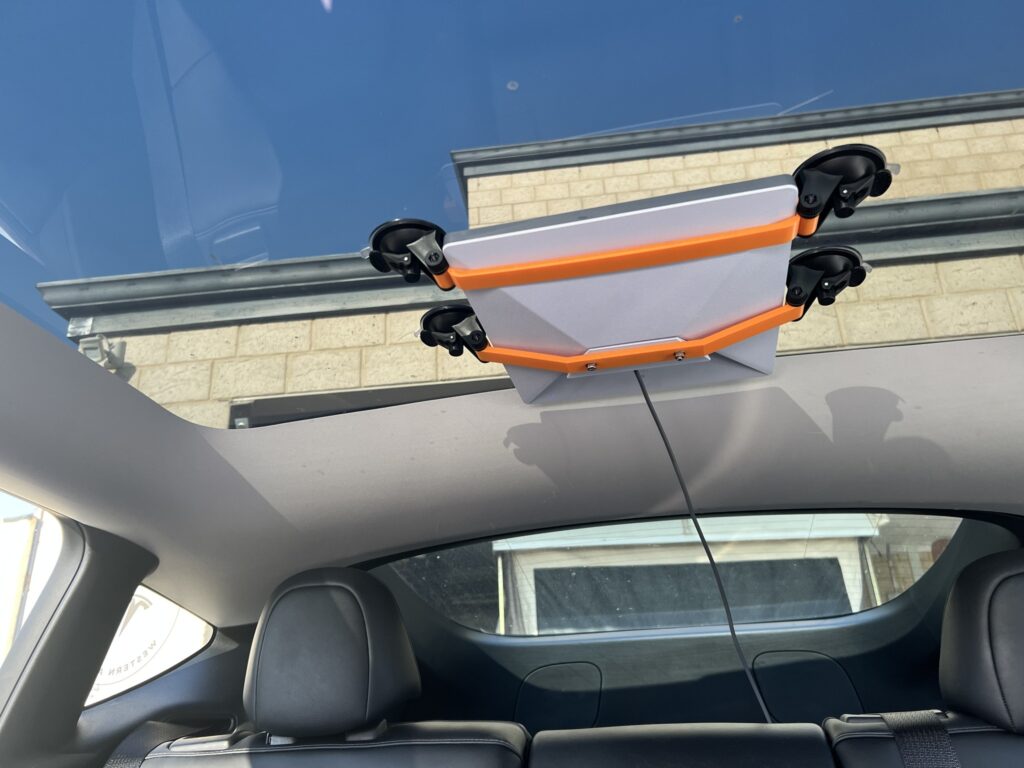
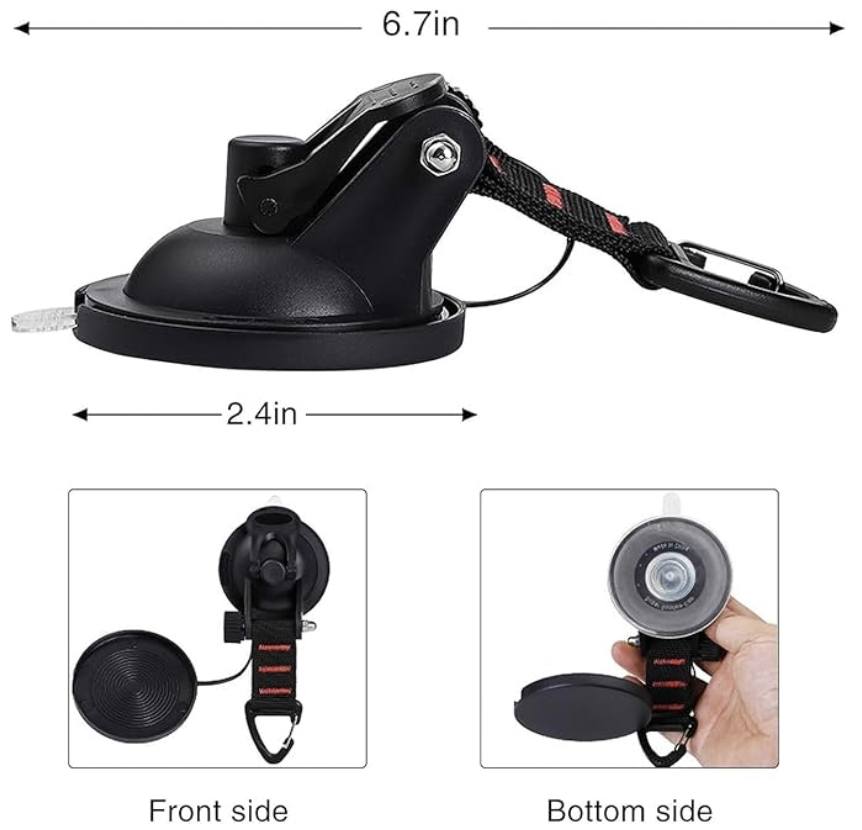
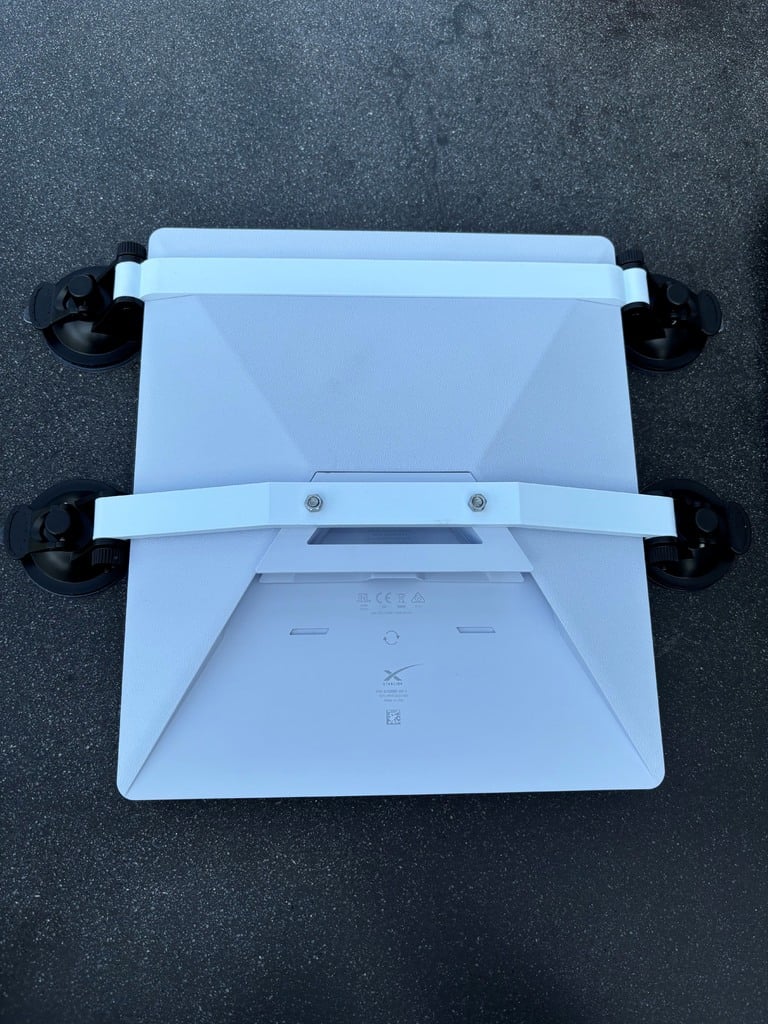
To make the setup even better, we purchased a Starlink-specific waterproof USB-C cable for outdoor use when camping. As I have access to a 3D printer, I used SDeath’s suction cup mount design from Thingiverse and paired it with suction cups from Amazon. This allows us to easily secure the Starlink Mini to our car’s glass roof, and it has enough airflow between the glass and starlink to stay cool thanks to the airconditioning in the car. On the road, we’ve been consistently getting around 100 Mbps, even at high speeds.
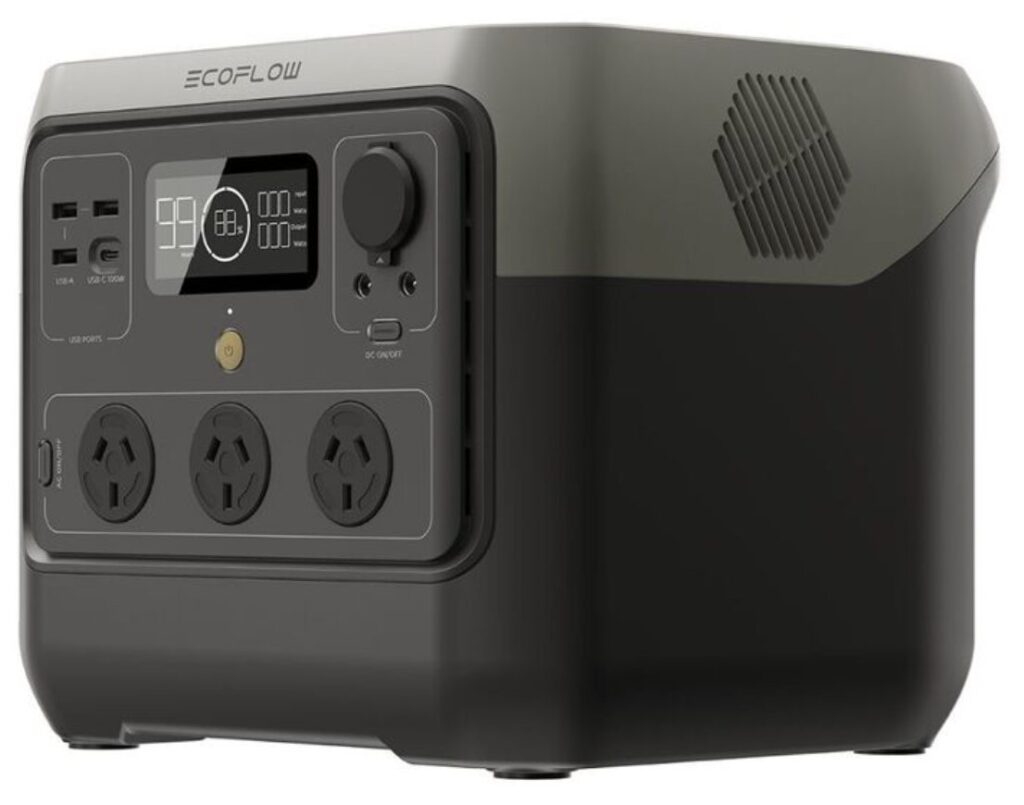
One issue we ran into was the Starlink shutting off when the car’s 12V system cycles during starts and stops. To fix this, we added an EcoFlow River 2 Pro. It’s a bit overkill with 800W, but it’s been perfect for running our Starlink and a travel fridge when off-grid and it was on a 30% off at the time so cheaper than the smaller bluetti we had our eye on. The power pack charges via the car and provides uninterrupted power for Starlink. You could use any power pack (much smaller and cheaper ones) with 60W USB-C PD output, but we liked this one for its versatility.
We’ve tested this setup on WA’s wide-open roads without any signal issues, and I’m keen to see how it performs on more challenging terrain like the Great Ocean Road and Tasmania.

Links to the products we have used:
Perth to Shark Bay is now an EV Cruise.

Now that the WA EV Network DC charger at the Overlander Roadhouse is available to the public the biggest gap between DC charging on the Perth to Shark Bay drive is 228 kms, once the Billabong Homestead DC charger goes live that gap reduces to 182 kms. This makes the 848 km drive (to Monkey Mia) a comfortable one day drive during the daylight hours of winter, it also means a standard range model Y could drive that trip at the speed limit while keeping the battery level between 20% and 85%. Take note, there’s no harm to the battery by going below 20% the potential issue could be queuing at a regional DC charger with no sentry mode available.

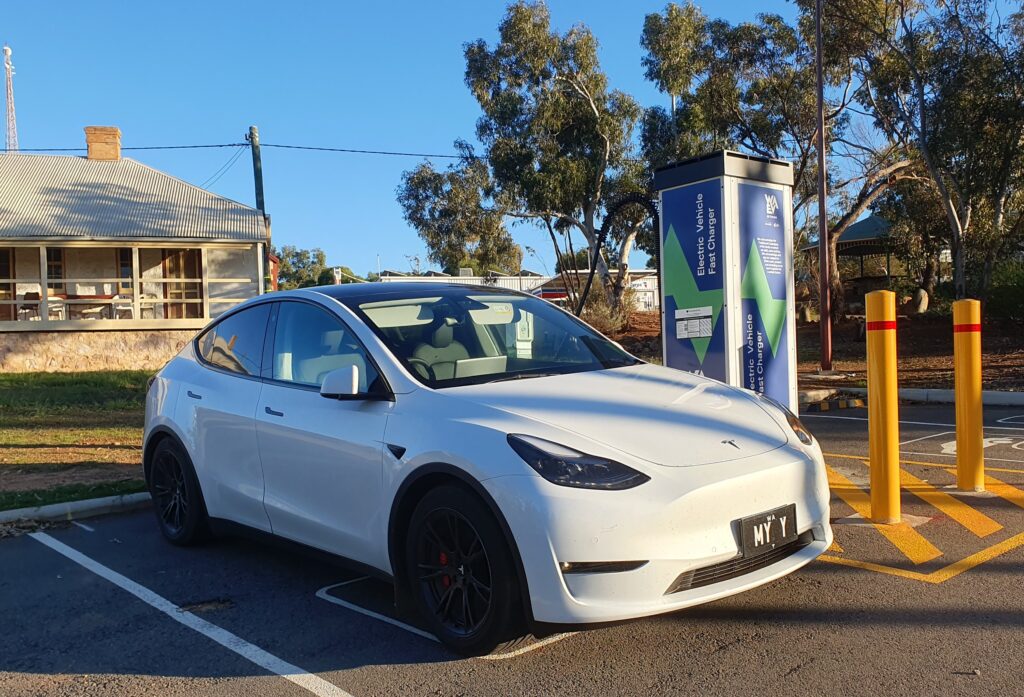
Northampton WA EV Network DC charger

Below is a suggested plan for those in a standard range vehicle, if you have a LR or Performance use the same plan but with a lower charge percentage when departing each charging stop. Plan for 9 hours of driving plus 90 minutes of charging spread over 3 or 4 charging sessions.

Jurien Bay, peak charge speed 115 Kw.
If your trip is on the weekend or holiday period depart early. Although this trip can be done in daylight hours a 6.00am departure will pay dividends at the first charging stop in Jurien Bay. Why? Because humans are ruled by their stomachs, it’s a sure bet that on a Saturday morning or School holidays the Jurien Bay chargers will have a queue while the passengers stretch out morning tea. Trust me, you really don’t want to get stuck behind a couple of short range legacy EVs trickle charging to 100%. Get going early and get ahead of the grazing sheep.

Geraldton and/or Northampton, peak charge rate 115 Kw.
The next charging stop is Geraldton so 80% is plenty to cover the 200 kms. Once you get close to Geraldton you have a decision to make, do you bypass Geraldton and push on another 52 kms to Northampton DC charger thus avoiding some of the Geraldton traffic or play it safe and “Always Be Charging”? This is up to you depending on how busy you think Northampton could be, keep in mind Geraldton has the capacity to charge 4 EVs at once, Northampton it’s only a 2 EV site.

The drive from Northampton to the Overlander Roadhouse is the biggest gap of 228 kms, even at 110 kmh in poor conditions a standard range could still drive this on 65% battery but the trick here is to keep charging until the charging rate drops below 45 Kw, this will generally be at approximately 85% on a standard range battery pack. Why is 45 Kw important? That’s the average charging rate you’ll get at the Overlander on the WA EV Network 50 Kw DC charger.

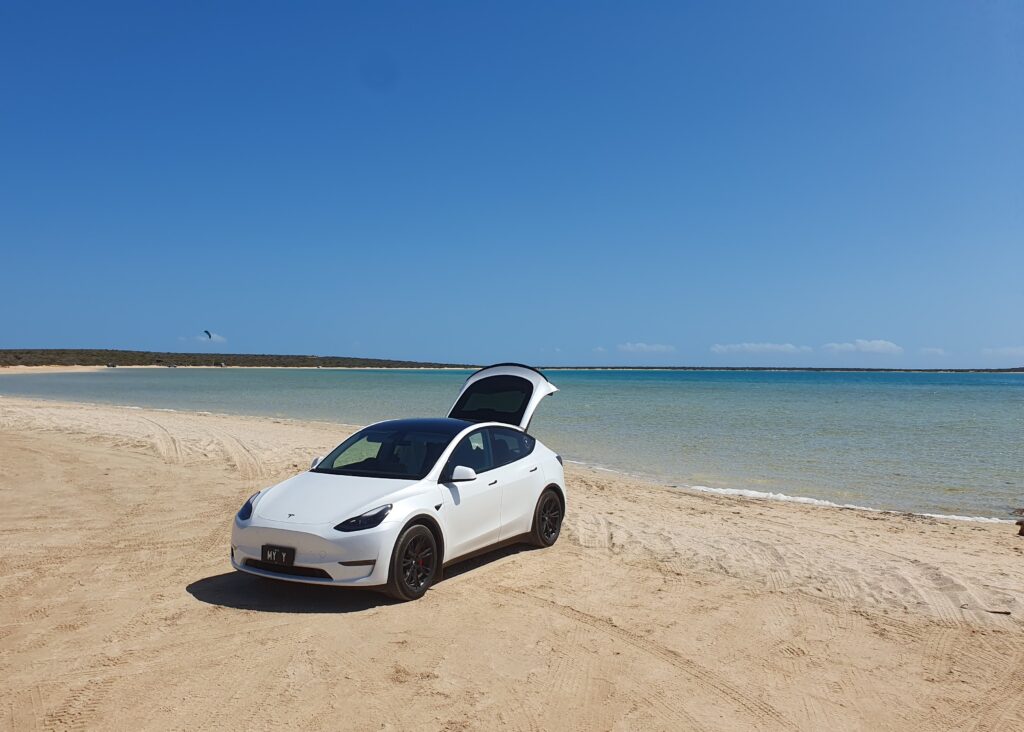
Little Lagoon Shark Bay

The drive between Overlander and Monkey Mia may only be 154 kms but has caught out many impatient EV drivers in the past, it’s a sure bet that sometime after lunch a strong westerly will blow significantly reducing range, don’t get caught short, add 154 kms of range plus a 20% buffer so your not hypermiling into Shark Bay after dark.

Foot note: Lancelin has both Tesla Superchargers and a WA EV Network charger, this is an optional stop on the way north on potentially busy days or if you’re not in a hurry and don’t mind the total 13km detour. Be aware that if you take this option and bypass Jurien Bay you’ll need to add enough charge to drive 303kms to Geraldton.